Marbled Vanilla Chocolate Cake
Highlighted under: Baking & Desserts
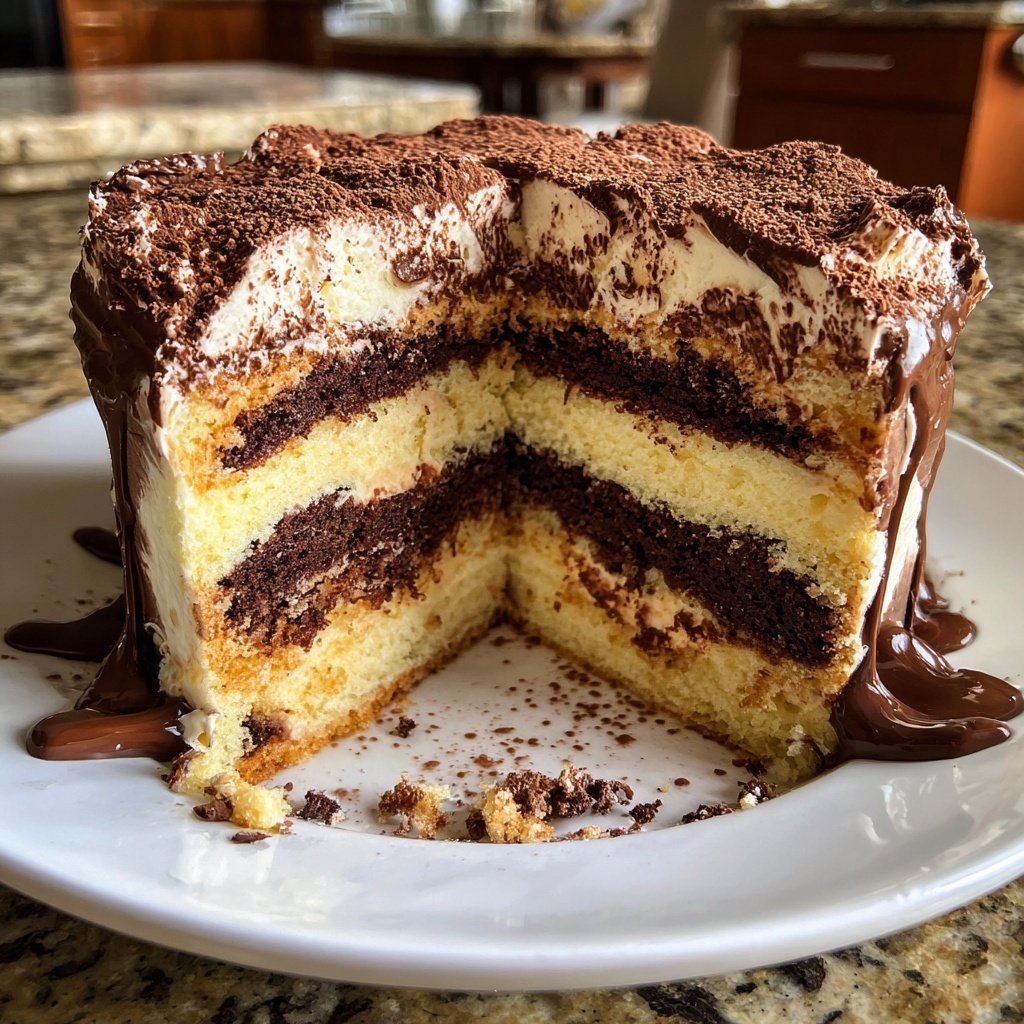
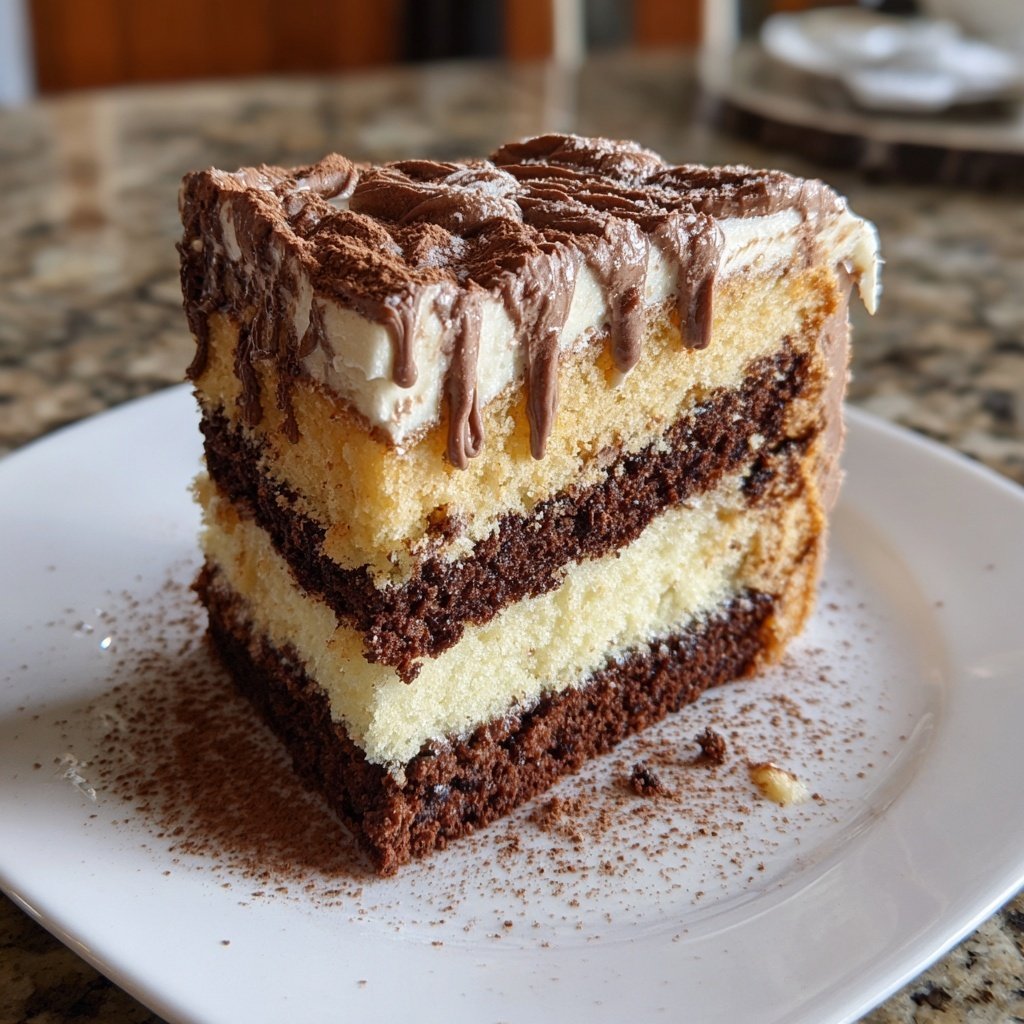
I absolutely love this Marbled Vanilla Chocolate Cake! The combination of rich chocolate and light, fluffy vanilla creates a beautiful contrast that is as delightful to the eye as it is to the palate. Each slice offers a perfect blend of flavors, with a moist texture that keeps you coming back for more. I often bake this cake for special occasions or when I simply want to indulge in a gorgeous dessert that impresses my family and friends. It’s a crowd-pleaser that is surprisingly simple to make!
When I first attempted this Marbled Vanilla Chocolate Cake, I was amazed at how simple it was to achieve such a stunning result. The secret lies in swirling the batters together rather than mixing them fully; this technique gives the cake its signature marbled look. Using high-quality cocoa powder enhances the chocolate flavor, making each bite richer and more satisfying.
I also learned to use room temperature ingredients, which helps the cake rise beautifully and maintain its moisture. The result is a cake that’s not only visually appealing but bursting with flavor, perfect for any celebration or simply a treat for yourself!
Why You'll Love This Recipe
- Rich chocolate flavor paired with creamy vanilla
- Light, moist texture that’s irresistible
- Eye-catching marbled appearance for special occasions
Understanding the Ingredients
The choice of ingredients plays a crucial role in achieving the perfect marbled effect and flavor in your cake. The all-purpose flour provides the structure, while the cocoa powder introduces a rich and deep chocolate flavor. It’s important to use unsweetened cocoa powder, as sweetened varieties can alter the balance of flavors. Additionally, whole milk adds moisture, contributing to a tender crumb that enhances the overall texture of the cake.
Don’t overlook the role of boiling water in the batter. Adding boiling water helps to bloom the cocoa, which intensifies the chocolate flavor and ensures a smooth batter. It’s crucial to gradually add the boiling water after mixing the dry and wet ingredients, as this helps maintain the integrity of the batter before it goes into the oven.
Tips for Perfect Swirls
Achieving the ideal marbled effect can be tricky. When pouring the batter into the pans, alternate generously and avoid mixing too vigorously. A gentle swirl with a knife or a skewer creates beautiful patterns without over-blending the batter. Aim for visible sections of both chocolate and vanilla; this will enhance the visual appeal of your cake. Keep in mind that the marbling should be distinct but not chaotic.
If you find that your batter is too thick, which can happen depending on the moisture content of your flour, you can add a splash of milk to loosen it slightly. This not only aids in swirling but also helps ensure an even baking result. Remember to check the baking time closely; overbaking can dry out the cake and dull the flavors.
Frosting and Serving Suggestions
For frosting, a classic buttercream or cream cheese frosting pairs wonderfully with the rich flavors of the marbled cake. If you want to elevate it further, consider a chocolate ganache for a glossy finish. To make chocolate ganache, heat equal parts cream and chocolate until melted together. Allow it to cool slightly before pouring it over your cooled cake for a stunning presentation.
This Marbled Vanilla Chocolate Cake is perfect for celebrations, but it can also be dressed down for casual gatherings. Serve it with a scoop of vanilla ice cream for extra indulgence or dust with powdered sugar for a simple, elegant touch. Leftovers can be stored in an airtight container at room temperature for up to three days, or in the refrigerator for about a week.
Ingredients
For the Cake
- 1 ¾ cups all-purpose flour
- 2 cups granulated sugar
- ¾ cup unsweetened cocoa powder
- 1 ½ teaspoons baking powder
- 1 ½ teaspoons baking soda
- 1 teaspoon salt
- 2 large eggs
- 1 cup whole milk
- ½ cup vegetable oil
- 2 teaspoons vanilla extract
- 1 cup boiling water
Instructions
Preheat the Oven
Preheat your oven to 350°F (175°C) and grease two 9-inch round cake pans.
Mix Dry Ingredients
In a large bowl, combine the flour, sugar, cocoa powder, baking powder, baking soda, and salt. Whisk together until well blended.
Combine Wet Ingredients
Add the eggs, milk, oil, and vanilla to the dry ingredients. Mix with an electric mixer on medium speed for about 2 minutes. Stir in the boiling water until the batter is smooth.
Divide the Batter
Pour half of the batter into another bowl. In the other half, stir in more cocoa powder if desired for extra chocolate flavor.
Create the Swirl
Spoon the batters alternately into the prepared pans. Use a knife to gently swirl the two batters together, creating a marbled effect.
Bake the Cakes
Bake in the preheated oven for 30-35 minutes, or until a toothpick inserted into the center comes out clean.
Cool and Serve
Allow the cakes to cool in the pans for 10 minutes before removing them to a wire rack to cool completely. Frost as desired.
Pro Tips
- For an extra layer of flavor, consider adding chocolate chips to the chocolate batter before baking. Also, let your cake cool completely before frosting to ensure a clean cut when you serve it!
Make-Ahead Tips
If you want to save time on the day of your event, consider baking and cooling the cakes in advance. Once completely cooled, wrap each layer in plastic wrap and store them in the refrigerator for up to two days, or freeze them for up to a month. Just be sure to thaw them in the fridge overnight before frosting to avoid moisture buildup.
Another option is to prepare the batter ahead of time. Once mixed, the batter can sit for about 30 minutes before baking. However, avoid letting it rest for too long to prevent the leavening agents from losing effectiveness, which might affect the cake's rise.
Troubleshooting Common Issues
If your cake does not rise as expected, it could be due to expired leavening agents. Always check the expiration dates on your baking powder and baking soda before using them. Another common issue is uneven baking; be sure to rotate your pans halfway through the baking time to ensure consistent heat distribution, particularly if your oven has hot spots.
Should the cake domes while baking, gently pressing it down with a spatula as soon as it comes out of the oven can help flatten it slightly. If your cakes sink in the middle after baking, it’s often because the batter was overmixed, which can cause excessive air incorporation. Aim for a smooth mixture without overworking it.
Scaling the Recipe
If you're looking to make a larger batch of this cake, you can easily double the recipe. For larger cake pans, such as 12-inch round pans, you might need to adjust the baking time accordingly, potentially increasing it by 10-15 minutes. Keep an eye on visual cues like the edges pulling away from the pans and a clean toothpick test to guide you.
For smaller gatherings, you can halve the recipe and use smaller 6-inch round pans. This size is perfect for intimate celebrations or when you want to enjoy a smaller dessert without the temptation of leftovers!
Questions About Recipes
→ Can I use a different type of flour?
You can substitute all-purpose flour with cake flour for a lighter texture, but do not use whole wheat flour as it will alter the cake's taste.
→ Can I make this cake ahead of time?
Absolutely! You can bake the cake a day in advance. Just wrap it tightly in plastic wrap to keep it fresh.
→ What type of frosting goes best with this cake?
Cream cheese frosting or a simple ganache pairs beautifully with the marbled cake, enhancing its flavors.
→ How should I store leftovers?
Store any leftover cake in an airtight container at room temperature for up to 3 days or refrigerate for up to a week.
Marbled Vanilla Chocolate Cake
Created by: The Bitealchemy Team
Recipe Type: Baking & Desserts
Skill Level: Intermediate
Final Quantity: 12 servings
What You'll Need
For the Cake
- 1 ¾ cups all-purpose flour
- 2 cups granulated sugar
- ¾ cup unsweetened cocoa powder
- 1 ½ teaspoons baking powder
- 1 ½ teaspoons baking soda
- 1 teaspoon salt
- 2 large eggs
- 1 cup whole milk
- ½ cup vegetable oil
- 2 teaspoons vanilla extract
- 1 cup boiling water
How-To Steps
Preheat your oven to 350°F (175°C) and grease two 9-inch round cake pans.
In a large bowl, combine the flour, sugar, cocoa powder, baking powder, baking soda, and salt. Whisk together until well blended.
Add the eggs, milk, oil, and vanilla to the dry ingredients. Mix with an electric mixer on medium speed for about 2 minutes. Stir in the boiling water until the batter is smooth.
Pour half of the batter into another bowl. In the other half, stir in more cocoa powder if desired for extra chocolate flavor.
Spoon the batters alternately into the prepared pans. Use a knife to gently swirl the two batters together, creating a marbled effect.
Bake in the preheated oven for 30-35 minutes, or until a toothpick inserted into the center comes out clean.
Allow the cakes to cool in the pans for 10 minutes before removing them to a wire rack to cool completely. Frost as desired.
Extra Tips
- For an extra layer of flavor, consider adding chocolate chips to the chocolate batter before baking. Also, let your cake cool completely before frosting to ensure a clean cut when you serve it!
Nutritional Breakdown (Per Serving)
- Calories: 380 kcal
- Total Fat: 26g
- Saturated Fat: 15g
- Cholesterol: 195mg
- Sodium: 85mg
- Total Carbohydrates: 32g
- Dietary Fiber: 3g
- Sugars: 24g
- Protein: 6g